The Joy of Homemade Bread: Simple Recipes Anyone Can Master
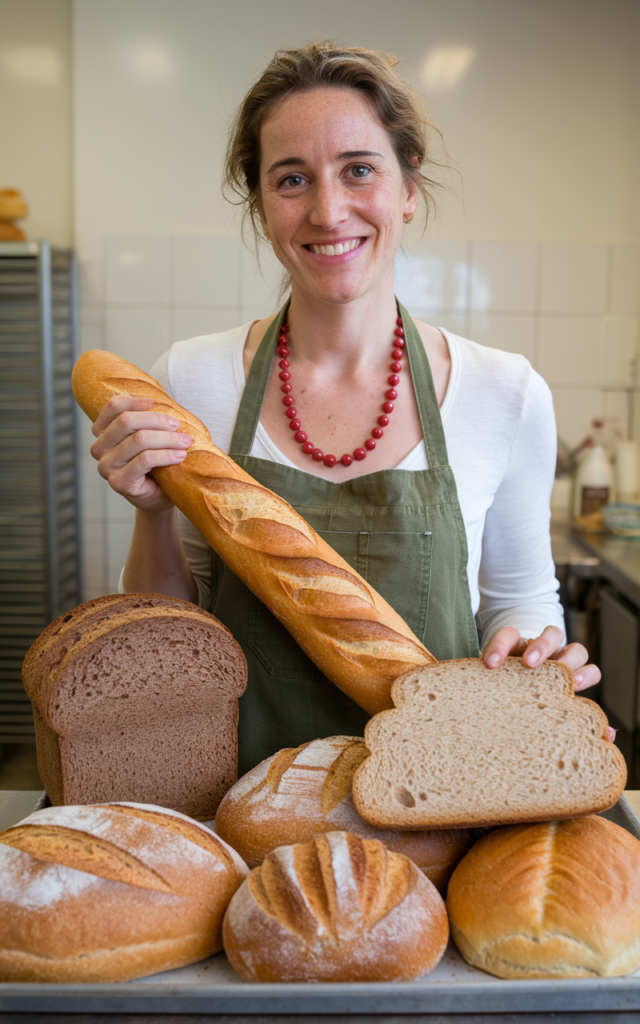
There’s something magical about the aroma of freshly baked bread wafting through your home. After years of baking bread and countless hours spent perfecting these recipes, I’m excited to share my favorite methods for creating beautiful, crusty loaves right in your own kitchen. No fancy equipment needed – just your hands, basic ingredients, and a little patience.
Why Make Bread by Hand?
While bread machines are convenient, there’s an undeniable satisfaction in creating bread from scratch. The process connects us to thousands of years of baking tradition, and in my experience, hand-kneaded bread develops a character that’s difficult to replicate with machines. Plus, you’ll develop an intuitive understanding of dough that will serve you well in all your baking endeavors.
My Foolproof Classic White Bread
Let me share my most reliable recipe – one I’ve made hundreds of times. It never fails to produce a perfect loaf with a tender crumb and golden crust. What makes this version special is the precise balance of ingredients and the attention to temperature, two factors I’ve found crucial for consistent results.
What You’ll Need:
- 4 cups bread flour (I prefer King Arthur)
- 2¼ teaspoons active dry yeast
- 2 teaspoons salt (I use fine sea salt)
- 1 tablespoon sugar
- 2 tablespoons butter, softened
- 1½ cups warm water (110°F)
The magic begins with properly activating the yeast. I’ve found that precision with water temperature makes a huge difference – too hot will kill the yeast, too cool will slow fermentation. Mix the warm water, sugar, and yeast in a bowl and wait for it to become foamy, usually about 5-10 minutes. This step is your insurance policy for a good rise.
While waiting, whisk together your flour and salt in a large bowl. Once your yeast mixture is ready, add it along with the softened butter to the flour. Here’s where the fun begins – mix everything until you have a shaggy dough, then turn it onto a floured surface for kneading.
Kneading is where I see many bakers struggle. The key is to develop a rhythm: push, fold, turn, repeat. You’ll know you’re done when the dough becomes smooth and elastic, typically after 10-12 minutes. I always use the windowpane test – stretch a small piece of dough; if it forms a translucent “window” without tearing, you’re ready for the first rise.
The No-Knead Revolution
For those days when you want amazing bread with minimal effort, I’ve perfected a no-knead recipe that will change your baking life. The long fermentation does all the work for you, developing fantastic flavor and texture.
Simple Ingredients:
- 3 cups bread flour
- 1½ teaspoons salt
- ½ teaspoon active dry yeast
- 1½ cups cool water
The beauty of this method lies in its simplicity. Mix everything in a bowl until you have a sticky dough, cover it, and forget about it for 12-18 hours. The slow fermentation develops complex flavors that remind me of artisanal bakery bread. When you’re ready to bake, shape it gently and bake it in a preheated Dutch oven. The result? A crusty, professional-looking loaf that will have everyone thinking you’ve been secretly training as a baker.
Learning from My Mistakes
Let me share some hard-earned wisdom: Temperature matters more than you might think. Your kitchen’s temperature affects fermentation, and your oven’s actual temperature might not match the dial. I learned this the hard way after several dense loaves. I now keep a thermometer in my kitchen and always check my oven temperature.
Another game-changer was understanding hydration. Different flours absorb water differently, so don’t be afraid to adjust the liquid slightly. The dough should feel tacky but not sticky – a lesson that took me many batches to learn.
Storage Secrets
After all the work of baking, proper storage is crucial. For crusty breads, I’ve found that paper bags work best, allowing the bread to breathe while maintaining the crust’s integrity. For softer sandwich breads, store them in a plastic bag at room temperature. If you won’t finish the bread within a few days, slice and freeze it – nothing beats having homemade bread ready to toast at a moment’s notice.
Remember, bread baking is both a science and an art. These recipes are starting points – feel free to experiment and develop your own perfect loaf. The joy of bread making lies not just in the final product, but in the journey of mastering this timeless craft.
Happy baking, and don’t forget to share your creations with loved ones. There’s nothing quite like breaking bread together, especially when it’s homemade with care.